Monday, September 28, 2009
Attention Designers!
Monday, September 21, 2009
Patches! September 21
Tuesday, September 15, 2009
Art Patch September 15
Wednesday, September 9, 2009
All Props are now Available to Zaby Owners
Wednesday, September 2, 2009
Attaching Meshes which do not have UI yet.
Here's a quick step-by-step on how to attach the new meshes that don't have UI spots yet :)
2. Sign in
3. Click "My Home" in the upper right
4. Click "Edit Profile" in the bar along the top
5. On the bar that appears under this, click "Avatar".
Second step - Adding a mesh override
This menu lets you see all the textures and meshes that are attached to your avatar, and lets you customize them yourself with things that aren't normally available through the UI. There are a bunch of new meshes that don't yet have a place in UI (user interface), but that have been made available for advanced users to play with. These include some baggy clothes meshes, beards, bags, and veils. For this tutorial, we'll attach a veil.
1. Find an unnused mesh spot. Look for an empty box with [Something]Mesh beside it. For this guide, use OtherMesh, at the bottom. It's a good one to use since it's generally empty. The only thing that goes on there usually is wings.
2. Type HF_Head_BridalVeil_Long.gml into the box. The mesh boxes will always be for GMLs. These are the files that link to a mesh.
3. If you wish to change the texture, there is a OtherSkin box below. Typing the name of a texture in the game (followed by .png or .jpg) will put this texture onto the mesh.
4. Click "Save Changes" at the bottom.
5. At the top of the page is the "Saved Outfits" section. If you wish, you can save your just created outfit here and then apply it in the game. Otherwise you'll have to log out and log back in to see the changes on your avatar.
Thats all! You should now be wearing a veil. Meshes can be attached to many of the different points, but keep in mind that some may not work as well as others because this is essentially hacking the character to make it do something it wasn't initially set up for.
The following is a list of all meshes that are not included in the UI, but can be attached to characters.
Clothing for men: Baggy pants: HM_lowerbody_loosepants.gml
Baggy shorts: HM_lowerbody_looseshorts.gml
Baggy shirt: HM_upperbody_looseshirt.gml
Suit Jacket: HM_upperbody_suitjacket.gml http://i975.photobucket.com/albums/ae232/James3DUtherverse/BaggySetSet.jpg
Skirts for men: Gown: HM_lowerbody_skirtgown.gml
Mini: HM_lowerbody_skirtmini.gml
Medium: HM_lowerbody_skirtmedium.gml
Long: HM_lowerbody_skirtlong.gml http://i975.photobucket.com/albums/ae232/James3DUtherverse/MaleSkirtSet.jpg
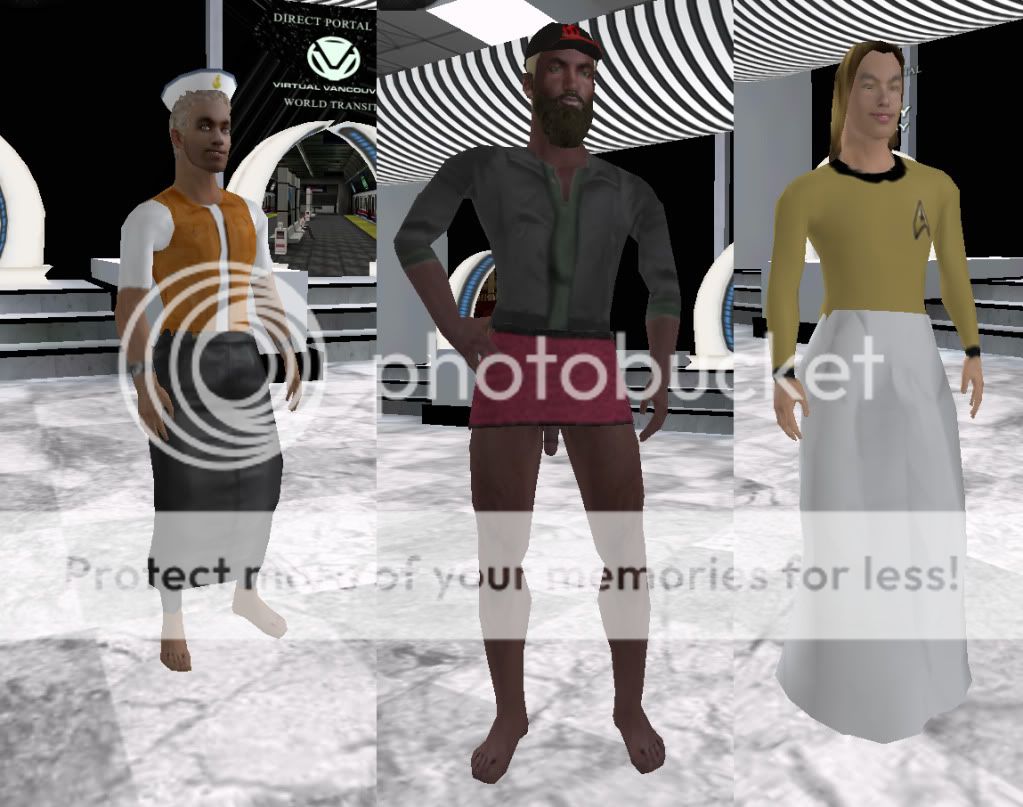
Bags/purses for women:
Backpack: HF_bag_backpack.gml Messenger
Bag: HF_bag_messengerbag.gml Purse: HF_bag_purse.gml http://i975.photobucket.com/albums/ae232/James3DUtherverse/BagSet.jpg
Wedding veils for women:
Long: HF_Head_BridalVeil_Long.gml
Medium: HF_Head_BridalVeil_Medium.gml
Short: HF_Head_BridalVeil_Short.gml http://i975.photobucket.com/albums/ae232/James3DUtherverse/BagSet.jpg
Beards for men: Chincurtain: HM_beard_chincurtain.gml Cop
Stache: HM_beard_copstache.gml
Friendly Mutton Chops: HM_beard_friendlymuttonchops.gml
Full Beard: HM_beard_fullbeard.gml
Goatee: HM_beard_goatee.gml
Hollywoodian: HM_beard_hollywoodian.gml
Huge Beard: HM_beard_hugebeard.gml
Mutton Chops: HM_beard_muttonchops.gml
Petit Goatee: HM_beard_petitgoatee.gml
Plain Stache: HM_beard_plainstache.gml
Single Braid: HM_beard_singlebraid.gml
Soul Patch: HM_beard_soulpatch.gml
Vandyke: HM_beard_vandyke.gml
Zappa: HM_beard_zappa.gml http://i975.photobucket.com/albums/ae232/James3DUtherverse/BeardSet.jpg
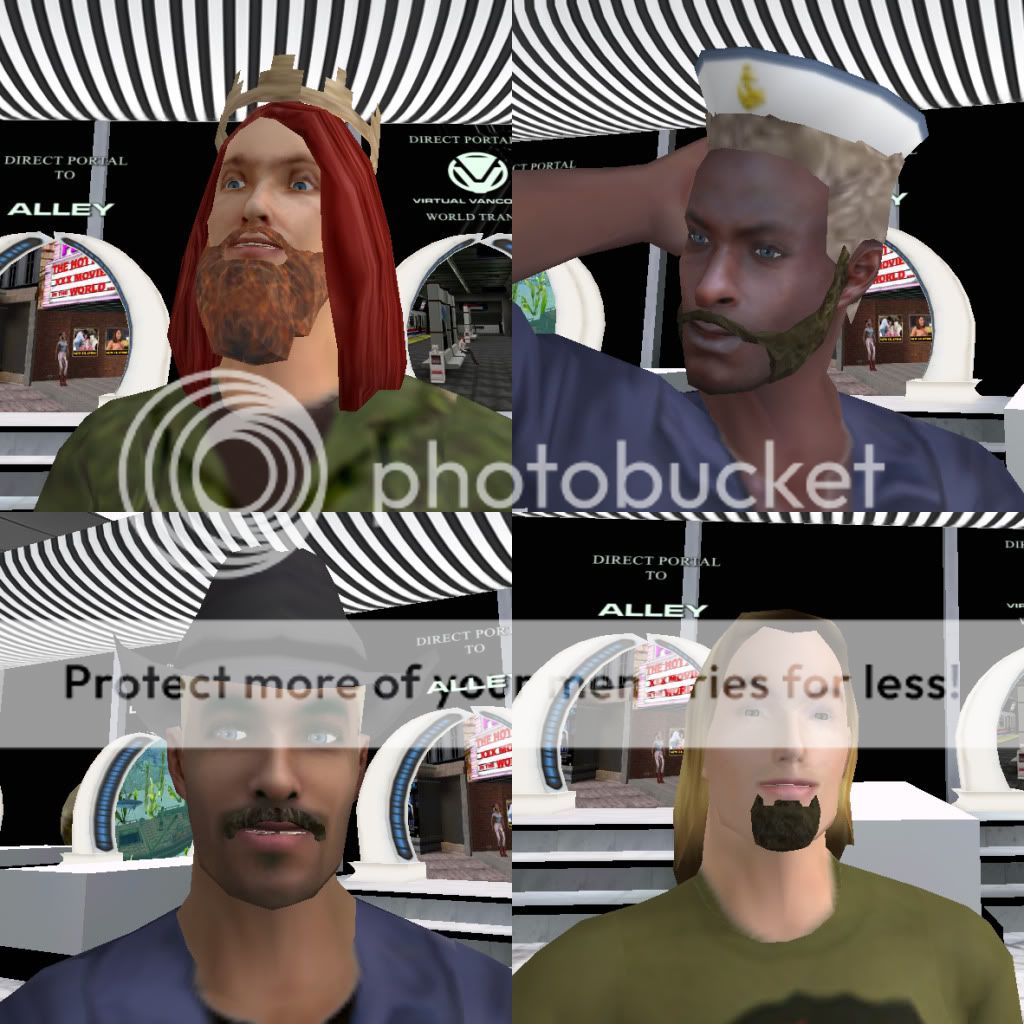